I presented at the Silicon Valley Computer Using Educators Teach Through Technology professional development today, so if you’re here by way of my “Best Tech Practices for Long Term English Language Learners” presentation…welcome!
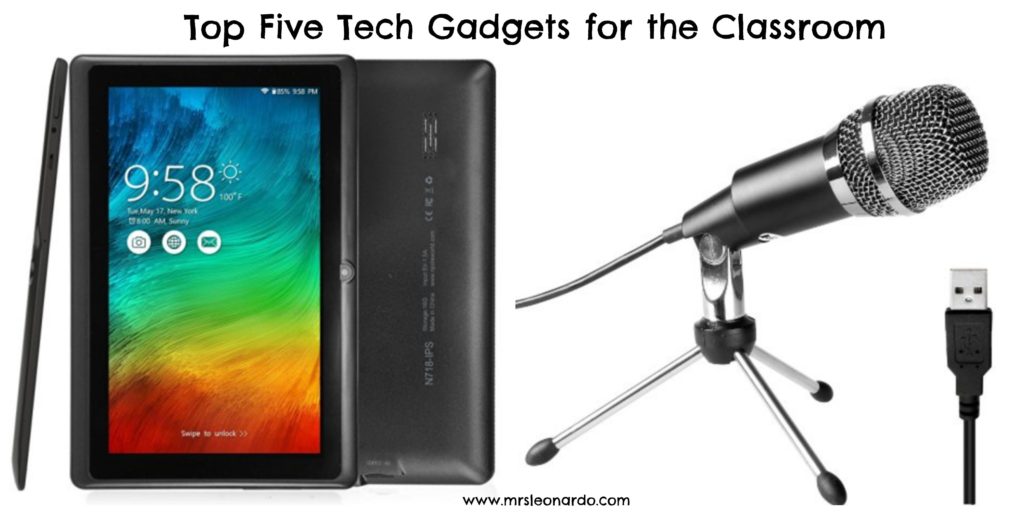
The resources for my presentation can be found here. I talked about all of the ways I attempt to make sure my students are always speaking, listening, reading, and writing in the classroom. While preparing for today’s presentation, I realized that it would be good for me to share some of the gadgets I use in my classroom. I’m sharing my top five tech gadgets for my classroom. Let’s get started!
- USB Microphones, $22 each

These microphones are a fairly recent purchase, and I’m so glad I decided to buy them. The mics are great for
- Chromebooks, laptops, and other computers
- students to record audio (discussion questions, group talking, think alouds)
- Vocaroo, screencasts, and any other audio recording site
2. Lapel Microphones, $6.50 for Three

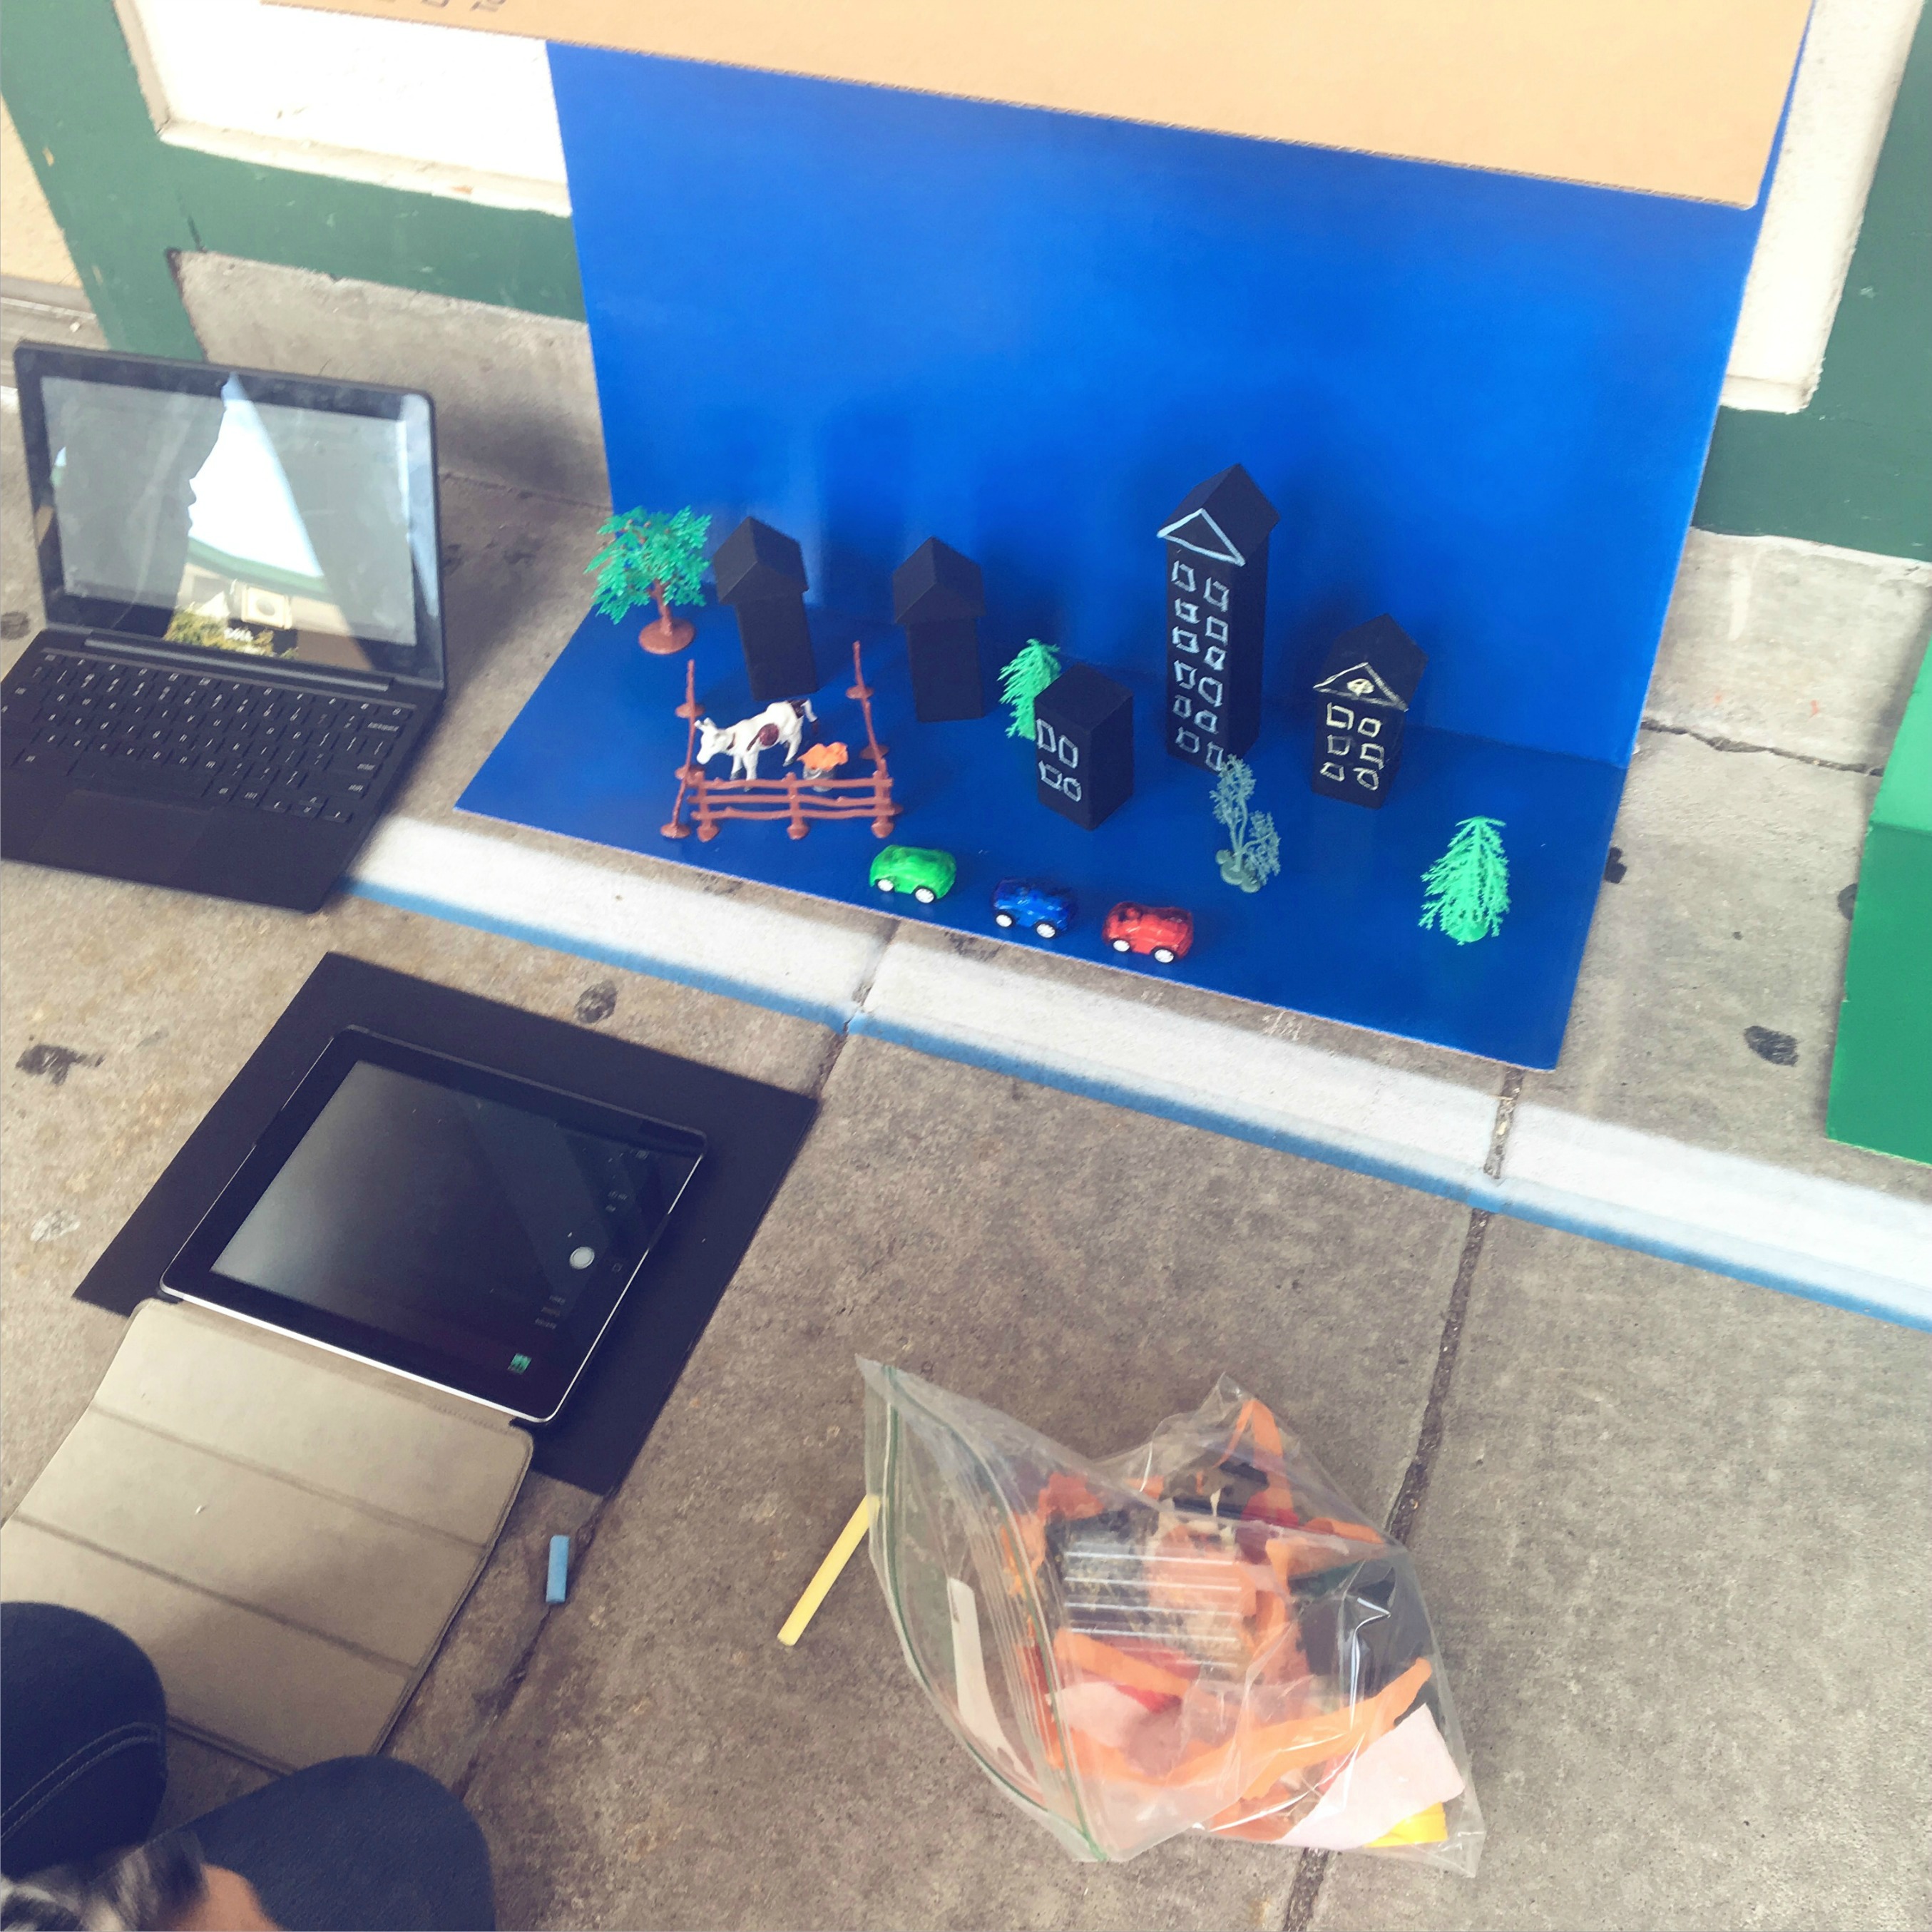
I purchased these lapel mics nearly two years ago for my students to record screencasts and lessons they created using Explain Everything. See students’ work here. Lapel mics can be used with and for
- tablets (we use them for iPads).
- individual recording.
- Explain Everything, Educreations, Recap, and Voki.
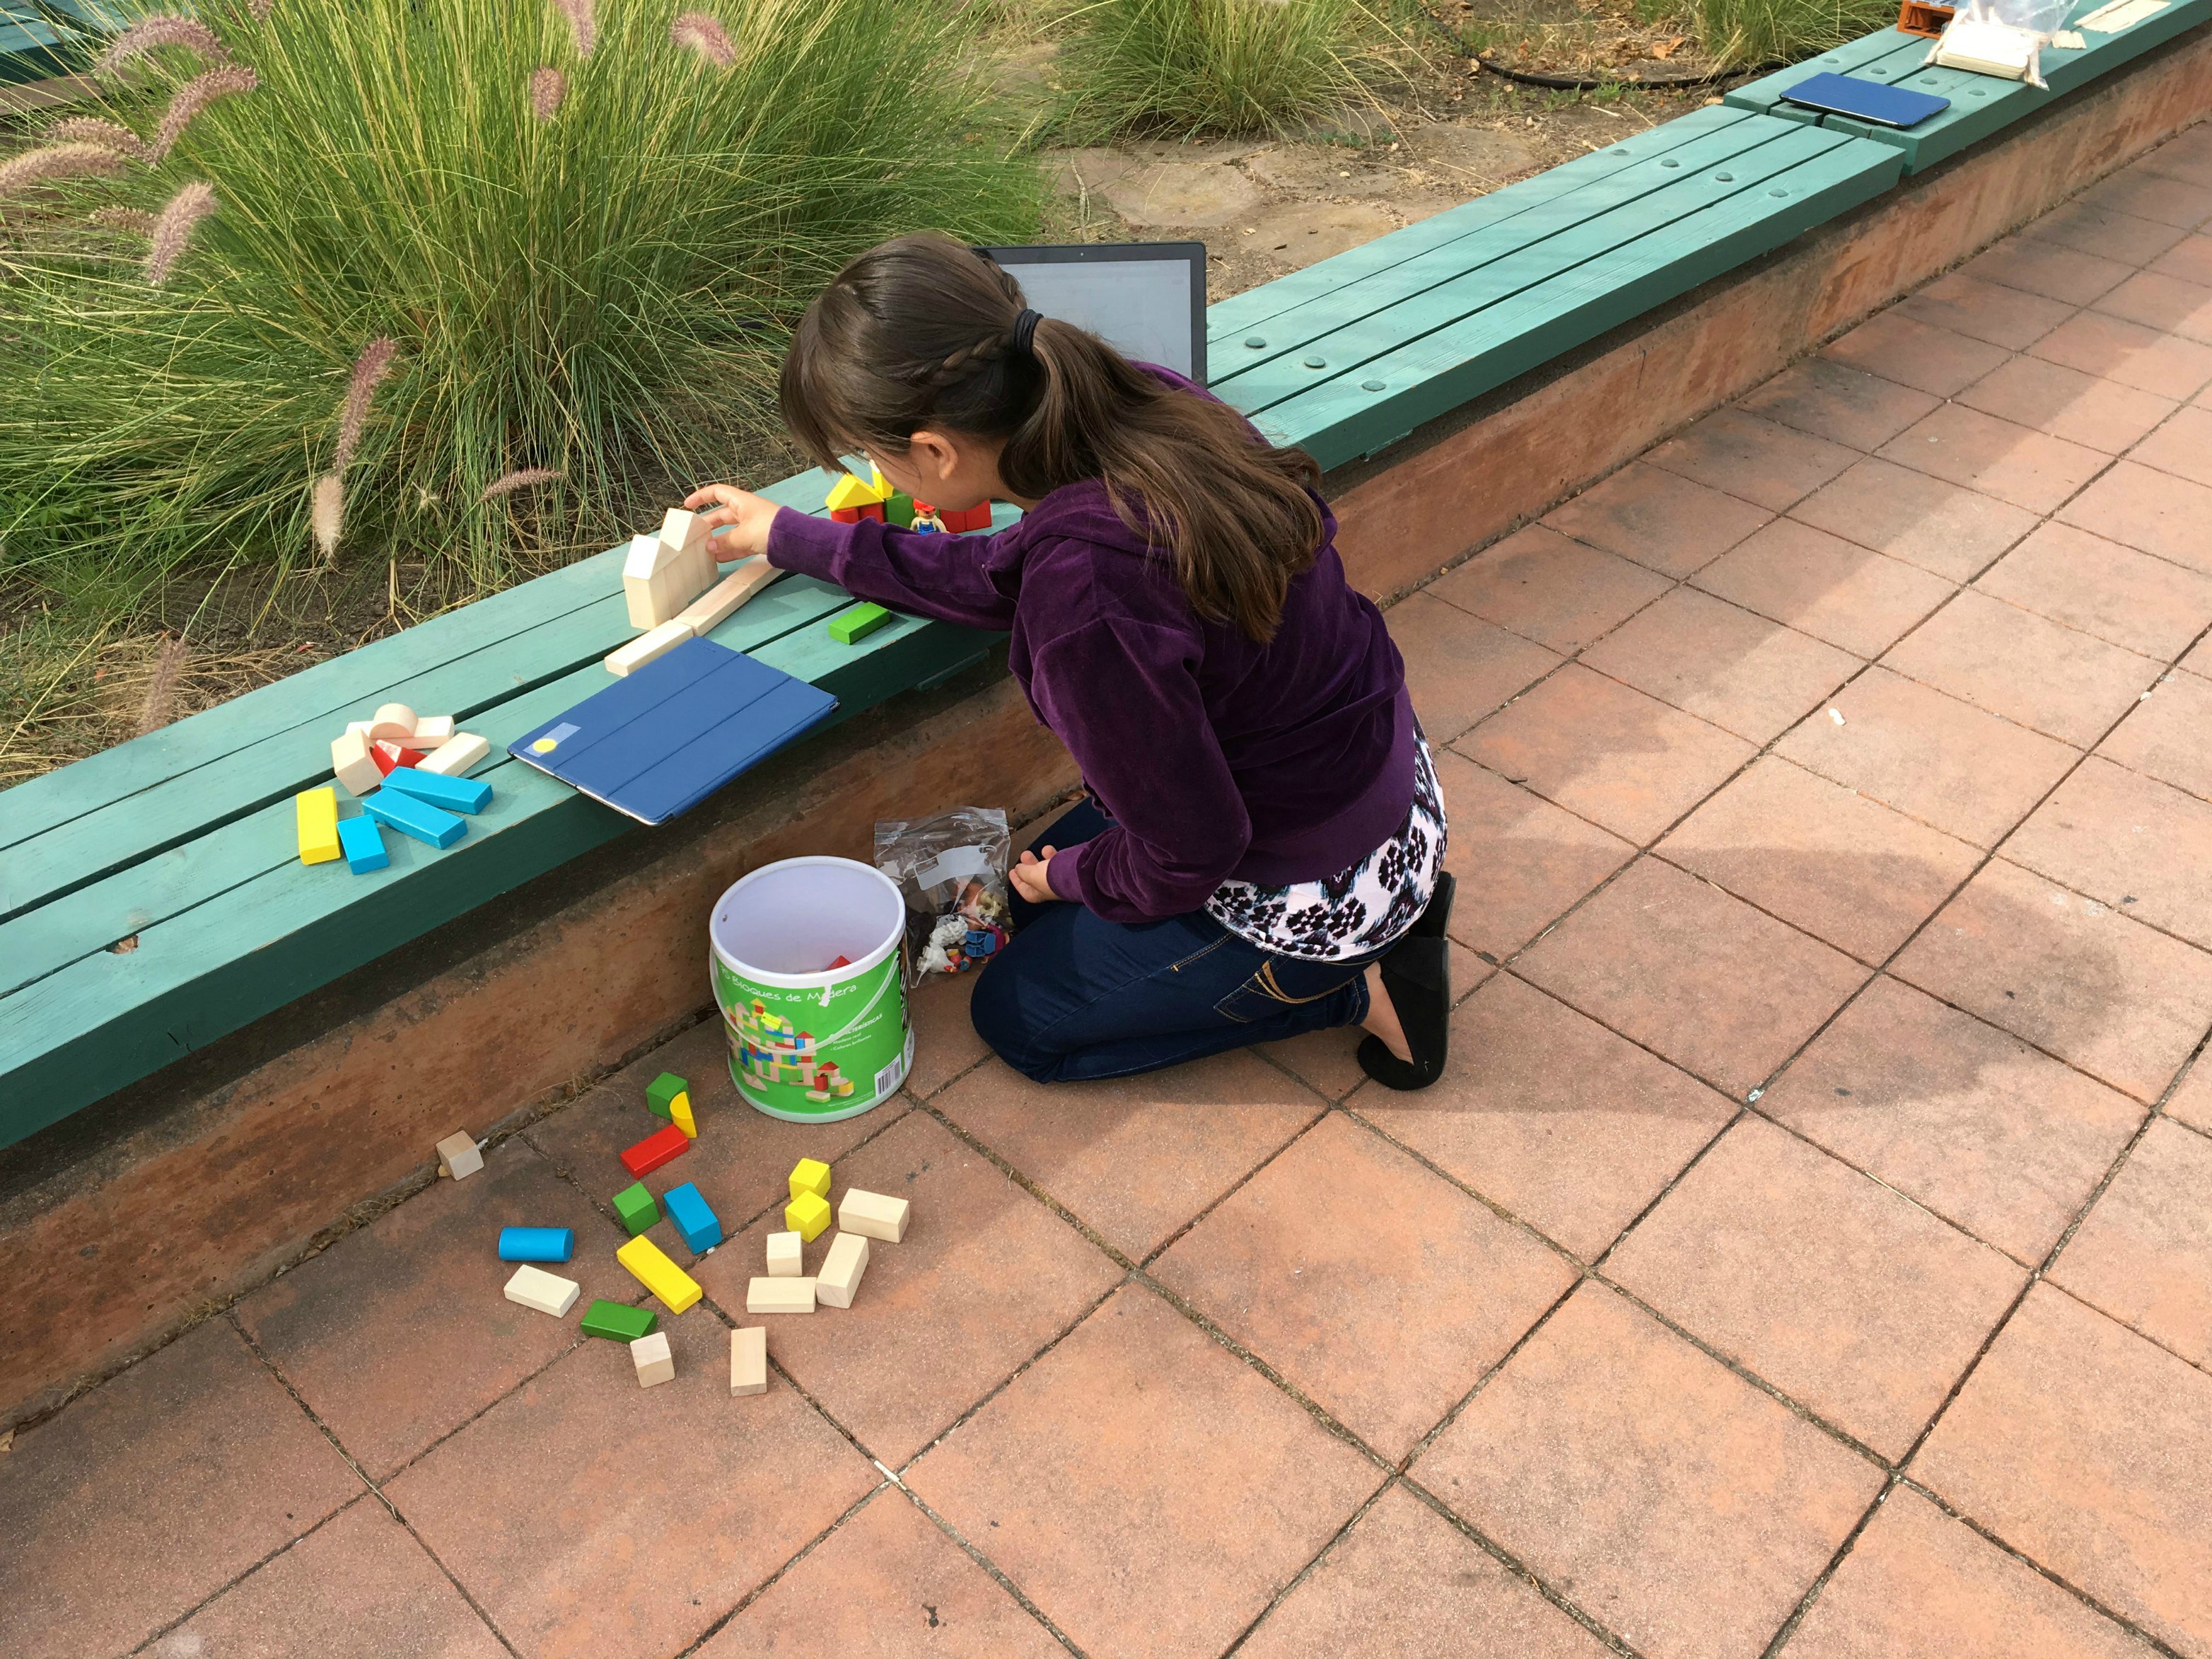
3. Android Tablet, $54.99

This is another fairly new purchase. A parent and I are working with groups of girls to create apps for Technovation’s coding challenge. The girls use MIT’s App Inventor, and they need a way to test their apps. We received a grant from Philanthropic Ventures Foundation to purchase the devices, and I ended up purchasing two more for my classroom. Full disclosure: if you’re used to an iPad, it’ll take some time to get used to the tablet. But, hey! At $55 a pop, these little things aren’t too shabby. I’ve found them to be great for:
- ScratchJr.
- testing MIT App Inventor apps.
- reading (ereaders/reading apps).
- reading, writing, speaking, and listening centers for two to three students.
Click through to see the final two items! Continue reading “Top Five Tech Gadgets for the Classroom”
 [
[